## Delicious Recipe for Grissini Breadsticks: A Step-by-Step Guide to Perfectly Crunchy Snacks
Grissini breadsticks, a classic Italian snack, are not only delightful but also versatile. Whether served alongside a cheese platter, as an appetizer, or en……
Grissini breadsticks, a classic Italian snack, are not only delightful but also versatile. Whether served alongside a cheese platter, as an appetizer, or enjoyed on their own, these crispy breadsticks are sure to impress. In this comprehensive guide, we will provide you with a detailed **recipe for grissini breadsticks** that will elevate your snacking game.
### Ingredients You'll Need
To make the perfect grissini, you will need the following ingredients:
- Flour: 2 cups of all-purpose flour is the base for your breadsticks. You can also experiment with whole wheat or semolina flour for a different texture.
- Yeast: 1 packet (about 2 1/4 teaspoons) of active dry yeast will help your dough rise.
- Warm Water: 3/4 cup of warm water (around 110°F) is essential for activating the yeast.
- Olive Oil: 2 tablespoons of extra virgin olive oil add flavor and richness to the dough.
- Salt: 1 teaspoon of salt enhances the overall flavor of your breadsticks.

- Optional Seasonings: You can add herbs like rosemary, thyme, or garlic powder for extra flavor.
### Step-by-Step Instructions
1. **Activate the Yeast**: In a small bowl, combine the warm water and yeast. Allow it to sit for about 5-10 minutes until it becomes frothy. This step is crucial for ensuring your breadsticks rise properly.
2. **Mix the Dough**: In a large mixing bowl, combine the flour and salt. Make a well in the center and pour in the activated yeast mixture along with the olive oil. Mix until a shaggy dough forms.
3. **Knead the Dough**: Transfer the dough to a floured surface and knead for about 5-7 minutes until it becomes smooth and elastic. If the dough is too sticky, add a little more flour as needed.
4. **First Rise**: Place the kneaded dough in a lightly oiled bowl, cover it with a damp cloth, and let it rise in a warm place for about 1 hour, or until it has doubled in size.
5. **Shape the Grissini**: Once the dough has risen, punch it down and turn it out onto a floured surface. Divide the dough into small pieces, about the size of a golf ball. Roll each piece into thin sticks, about 1/4 inch thick and 8-10 inches long.
6. **Second Rise**: Place the shaped grissini on a baking sheet lined with parchment paper. Cover them with a cloth and let them rise for another 30 minutes.
7. **Preheat the Oven**: While the grissini are rising, preheat your oven to 400°F (200°C).
8. **Bake**: Once the second rise is complete, bake the grissini for 15-20 minutes, or until they are golden brown and crispy. Keep an eye on them to prevent burning.
9. **Cool and Serve**: Remove the grissini from the oven and let them cool on a wire rack. Serve them warm or at room temperature with your favorite dips or cheeses.
### Tips for Perfect Grissini

- **Experiment with Flavors**: Feel free to sprinkle sesame seeds, poppy seeds, or coarse sea salt on top before baking to add texture and flavor.
- **Storage**: Store leftover grissini in an airtight container at room temperature for up to a week. They can also be frozen for longer storage.
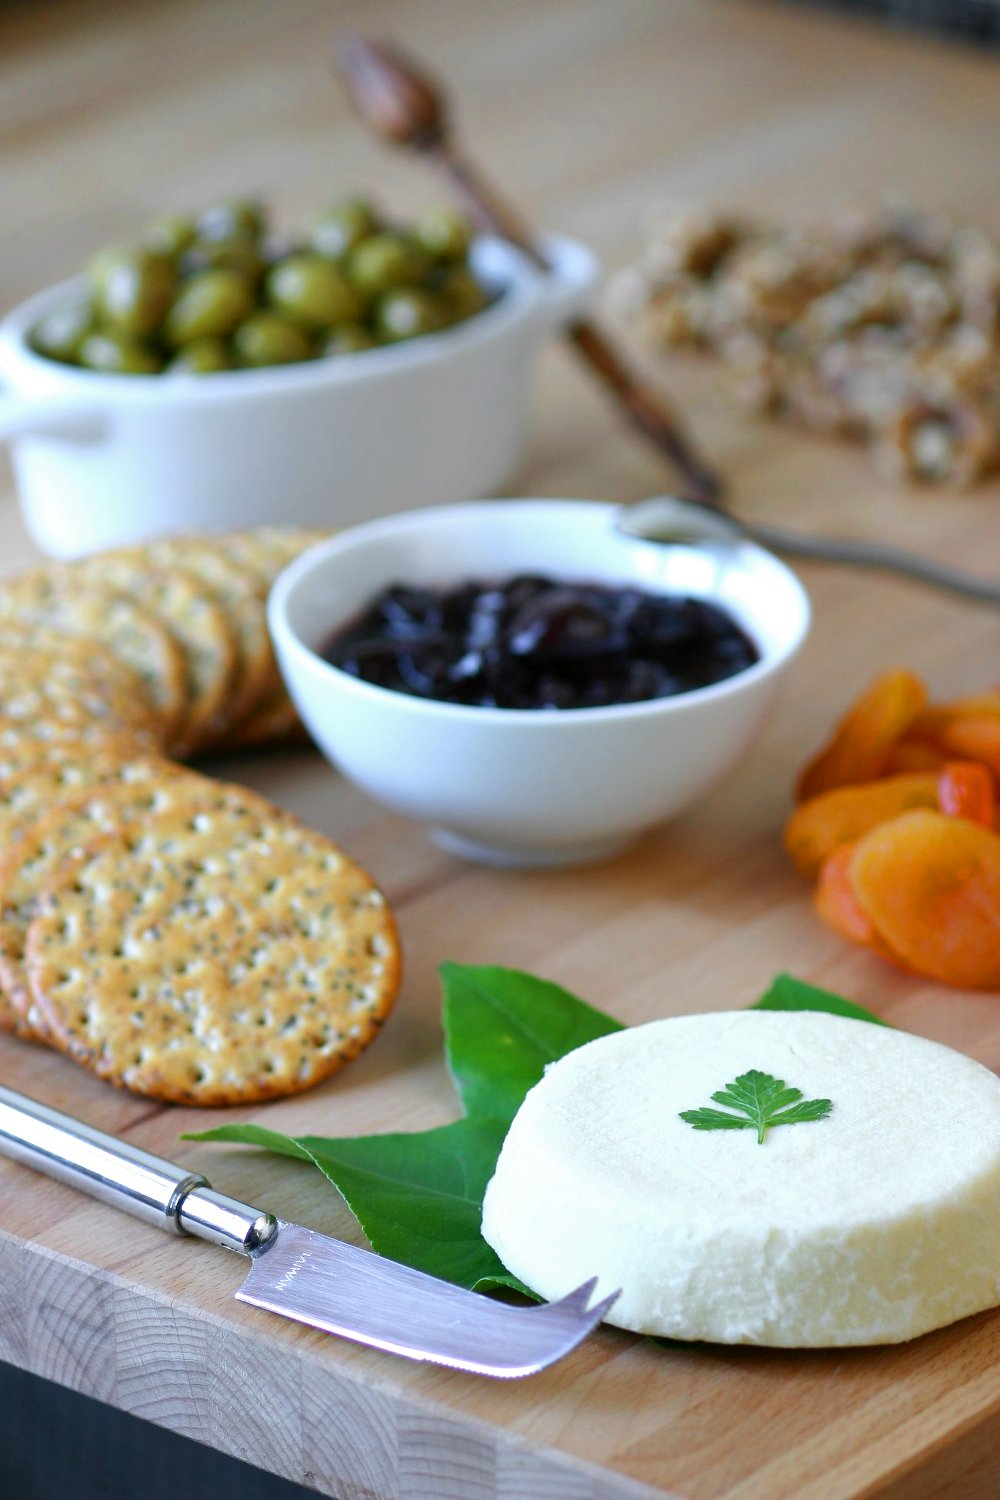
- **Serving Suggestions**: Pair your grissini with a selection of cheeses, charcuterie, or hummus for a delightful appetizer spread.
### Conclusion
Now that you have this detailed **recipe for grissini breadsticks**, you can enjoy these crunchy delights any time you want. With just a few simple ingredients and steps, you can create a snack that is not only delicious but also impressively homemade. Whether for a cozy night in or a gathering with friends, grissini breadsticks are a versatile addition to any occasion. Happy baking!