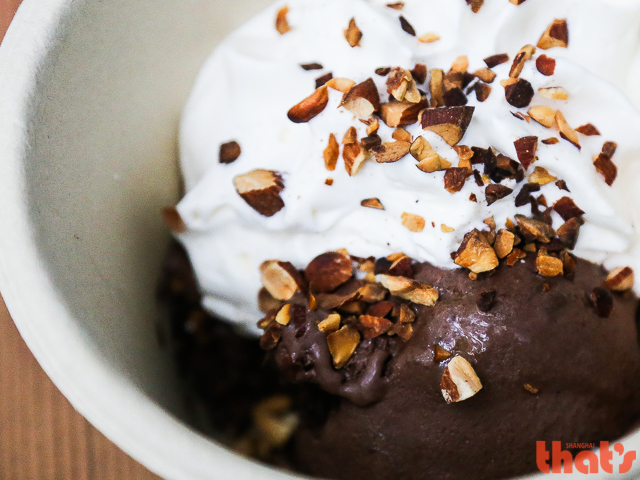
Delicious and Creamy Almond Milk Ice Cream Recipe with Ice Cream Maker
Guide or Summary:Ingredients Needed for Almond Milk Ice CreamPreparing the Ice Cream BaseChurning the Ice CreamFreezing and ServingTips for Perfect Almond M……
Guide or Summary:
- Ingredients Needed for Almond Milk Ice Cream
- Preparing the Ice Cream Base
- Churning the Ice Cream
- Freezing and Serving
- Tips for Perfect Almond Milk Ice Cream
If you're looking for a delightful and healthier alternative to traditional dairy ice cream, then this almond milk ice cream recipe with ice cream maker is perfect for you. Almond milk is not only lactose-free but also low in calories and packed with essential nutrients. Making ice cream with an ice cream maker ensures a smooth and creamy texture that rivals any store-bought version. In this guide, we'll walk you through a step-by-step process to create a delicious almond milk ice cream that you and your family will love.
Ingredients Needed for Almond Milk Ice Cream
To get started, you'll need the following ingredients:
- 2 cups of almond milk (unsweetened)
- 1 cup of coconut milk (full fat for creaminess)
- 1/2 cup of granulated sugar or a sugar substitute
- 2 teaspoons of vanilla extract
- A pinch of salt

- Optional: 1/4 cup of almond butter for extra almond flavor
- Optional: Mix-ins like chocolate chips, crushed nuts, or fruit
Preparing the Ice Cream Base
1. **Combine the Ingredients**: In a medium saucepan, combine the almond milk, coconut milk, sugar, vanilla extract, and salt. If you're using almond butter for added flavor, add it to the mixture as well.
2. **Heat the Mixture**: Place the saucepan over medium heat and stir the mixture continuously until the sugar is completely dissolved. This should take about 5-7 minutes. Be careful not to let the mixture come to a boil.
3. **Cool the Mixture**: Once the sugar is dissolved, remove the saucepan from the heat. Allow the mixture to cool to room temperature. For faster cooling, you can place the saucepan in an ice bath.
4. **Chill in the Refrigerator**: Transfer the cooled mixture to a container and refrigerate it for at least 2 hours or overnight. Chilling the mixture thoroughly ensures that the ice cream will freeze properly in the ice cream maker.

Churning the Ice Cream
1. **Prepare the Ice Cream Maker**: Before you start churning, make sure your ice cream maker's bowl is frozen solid. This usually requires at least 24 hours in the freezer.
2. **Pour the Mixture**: Once the ice cream base is thoroughly chilled, pour it into the ice cream maker's bowl.
3. **Churn the Ice Cream**: Turn on the ice cream maker and let it churn according to the manufacturer's instructions. This process typically takes about 20-25 minutes.
4. **Add Mix-ins**: If you want to add mix-ins like chocolate chips, crushed nuts, or fruit, do so in the last 5 minutes of churning. This ensures they are evenly distributed throughout the ice cream.
Freezing and Serving
1. **Transfer to a Container**: Once the ice cream reaches a soft-serve consistency, transfer it to an airtight container.
2. **Freeze Until Firm**: Place the container in the freezer for at least 2 hours to allow the ice cream to firm up.

3. **Serve and Enjoy**: Scoop the ice cream into bowls or cones and enjoy your homemade almond milk ice cream. You can also top it with your favorite sauces or additional toppings.
Tips for Perfect Almond Milk Ice Cream
- **Use Full-Fat Coconut Milk**: The fat content in coconut milk helps create a creamier texture. If you prefer a lower-fat version, you can use light coconut milk, but the ice cream will be less creamy.
- **Experiment with Flavors**: Feel free to experiment with different extracts and flavors. Almond extract, chocolate, and fruit purees can all be added to the base mixture for variety.
- **Storage**: Homemade ice cream can become hard when stored for long periods. To soften it, let it sit at room temperature for a few minutes before scooping.
By following this almond milk ice cream recipe with ice cream maker, you'll create a delicious, creamy, and healthier alternative to traditional ice cream. Enjoy the process and the delightful results!